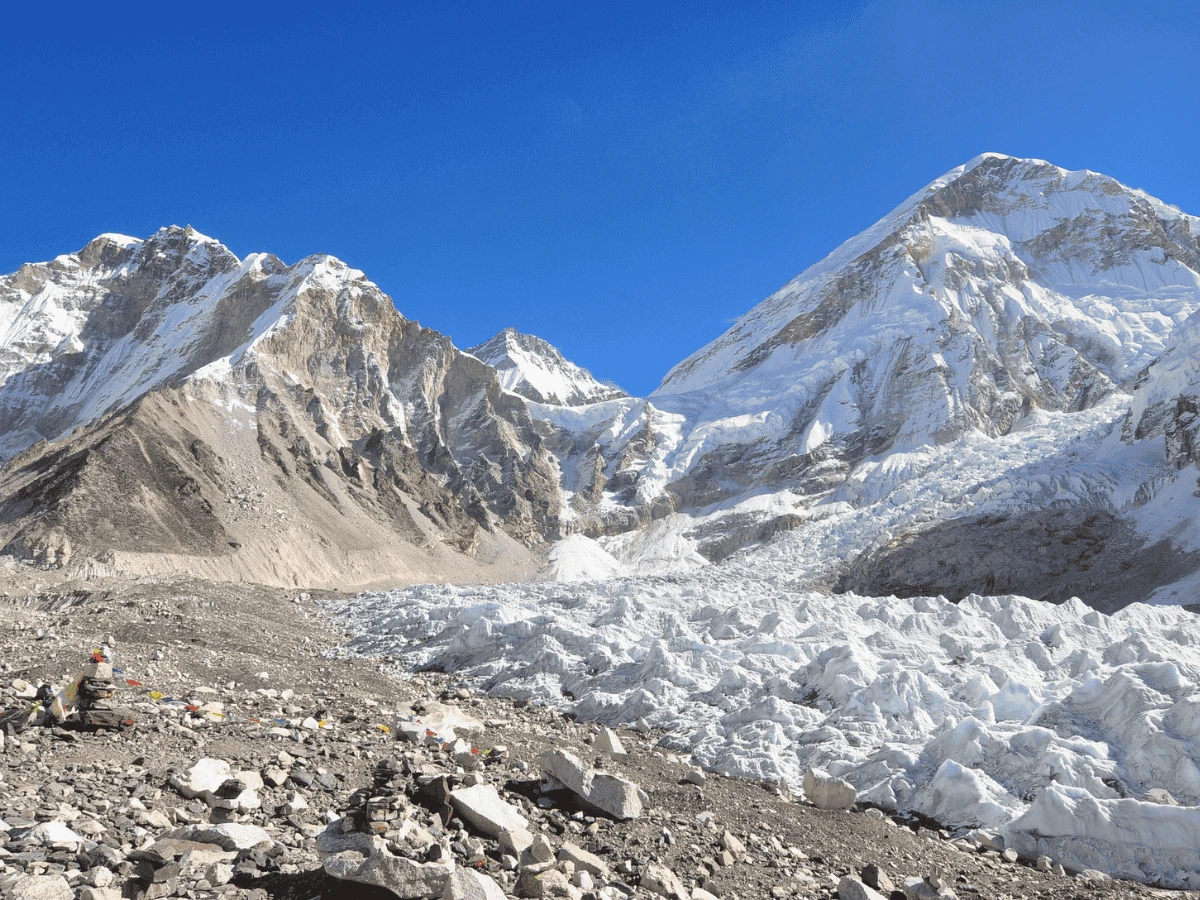

The Everest Three High Passes Trek is a challenging 18–21-day high-altitude circuit in Nepal’s Khumbu region. It crosses three 5,000m+ passes—Kongma La (5,535m), Cho La (5,420m), and Renjo La (5,360m)—which connect the popular Everest Base Camp Trail and Gokyo Valley Trek. It is widely regarded as the most comprehensive and demanding trek in the Everest region.
The Everest Three High Passes Trek is the most difficult high-altitude trek in Nepal, requiring excellent physical fitness. The steep ascents and long trekking days can be exhausting. Although the Three Passes Trek is demanding, it encompasses major highlights such as Everest Base Camp, Namche Bazaar, Monasteries, and Gokyo Valley.
Mountain Eco Trails designed this 16-day Everest Three High Passes Trek itinerary for experienced trekkers seeking an exhilarating adventure. If you wish to customise the trip or require further information, please get in touch with us via email or WhatsApp at +9779849790153.
Everest Three High Passes Trek Quick Facts
Why Everest Three High Passes Trek?
- Cross through some of the highest passes of Nepal above 5000 meters: Renjo La Pass, Cho La Pass, & Kongma La Pass.
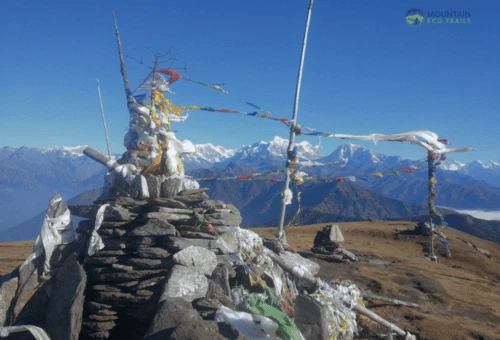
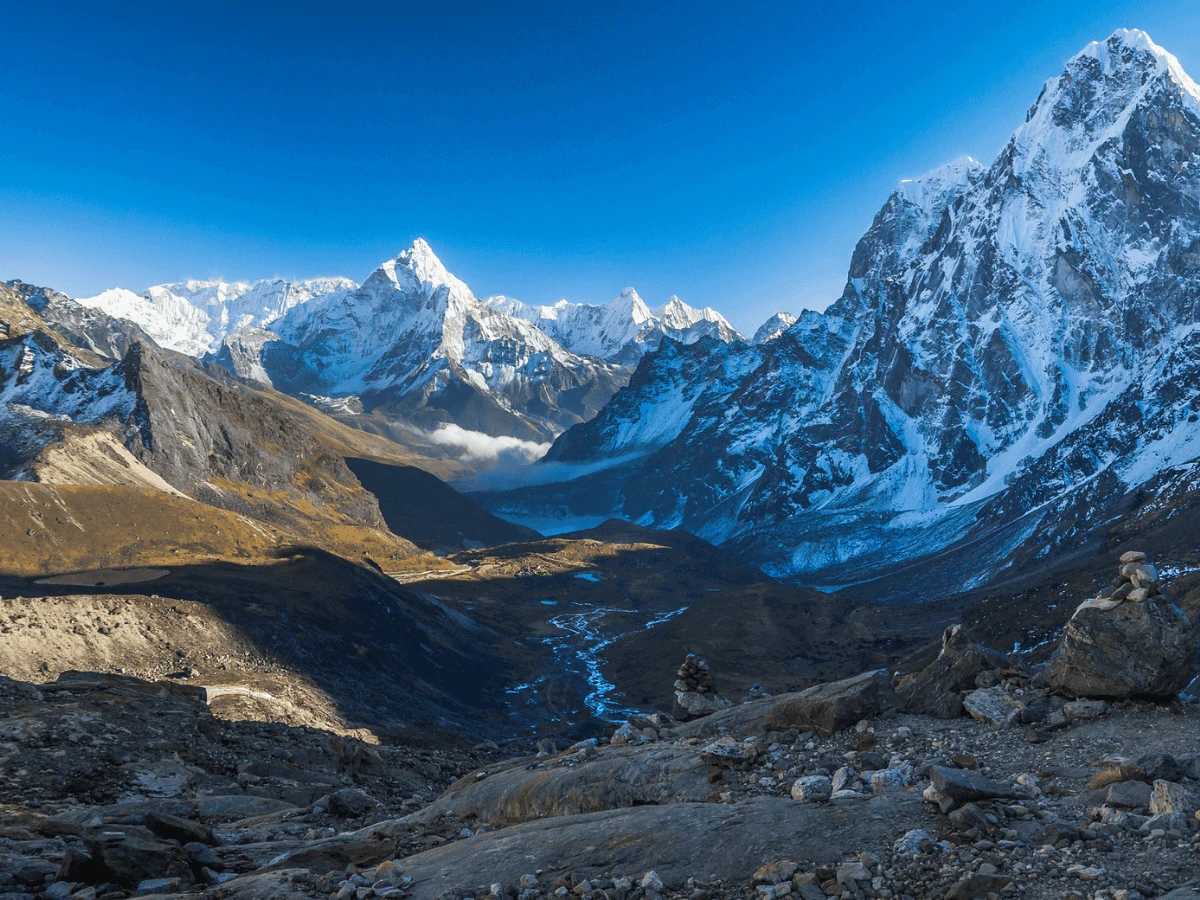
- Hiking through the remote and unspoiled area of the Everest Region.
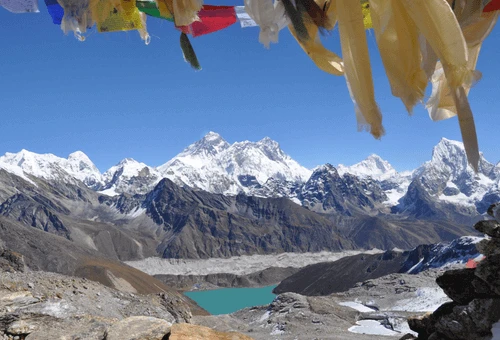
- Combined Trek through Gokyo Valley, Everest Base Camp, & 3 High passes at once.
- Daring Adventure through the tough trekking trails.
- Witness panoramic views of Everest, Lhotse, Makalu, and Cho Oyu
- Experience less crowded trails beyond EBC
16 Day Everest Three High Passes Itinerary Facts and Altitude
The Everest Three High Passes Trek itinerary begins and ends at the famous Tenzing-Hillary Airport, Lukla. Here is the short outline itinerary for the trek:
Days | Route | Altitude |
Day 01–03 | Lukla → Phakding → Namche Bazaar (Acclimatisation) | 3,440m |
Day 04–07 | Namche → Tengboche → Dingboche → Chukkung | 4,750m |
Day 08 | Trek to Lobuche via Kongma La Pass | 5,535m |
Day 09 | Trek to Gorakshep & Hike to Everest Base Camp | 5,364m |
Day 10 | Hike Kala Patthar, Trek to Dzongla | 4,830m |
Day 11 | Trek to Thangnak via Cho La Pass | 5,360m |
Day 12–13 | Trek to Gokyo & Cross Renjo La Pass to Marlung | 5,360m |
Day 14–15 | Trek Marlung → Namche Bazaar → Lukla | 3,440m |
Day 16 | Fly Lukla to Kathmandu | 1,400m |
Everest Three High Passes Trek cost for 2026,2027
Cost Component | Estimated Cost (USD) |
Lukla Round-Trip Flight (Kathmandu–Lukla) | $400 – $450 |
Required Permit Cards | $60 |
Licensed English-Speaking Guide | $480-500 |
Porter Service (Optional) | $250 – $300 |
Meals & Accommodation | $600-650 |
Administrative & Logistics Support | $100 – $150 |
Estimated Total Package Value | $1699– $2199 |
The Everest Three High Passes Trek costs between USD 1699 and 2199 per person, depending on the group size and service. Mountain Eco Trails offers this trek with the cost starting from USD 1699 and above. The cost is transparent with no hidden charges.
You can check the cost details below or contact us via email or WhatsApp at +9779849790153 for the quotation.
Why choose Mountain Eco Trails for this Everest 3 High Pass trek?
Choosing the right trekking company can make a huge difference in your experience. Mountain Eco Trails specialises in Everest and other Nepal treks, providing a balance of safety, professionalism, and local expertise. Here are a few reasons to trek with Mountain Eco Trails:
- Experienced crew members and official team.
- Flexible and customised Langtang Trek Itinerary with personalised service.
- Complimentary Services like Duffel Bag, Trekking Poles, SIM Card, and an hour trekker's massage
- First Aid Kit with basic medication.
- Hassle-free last-minute booking and trip arrangements.
- Competitive and Fair price that matches the services and has no hidden costs.
- Special Discount for a group of trekkers of more than 5 Pax.
With Mountain Eco Trails, you trek with a trusted local company that prioritises your experience, safety, and the environment. We strive to turn your Everest journey into an incredible memory you’ll cherish for life.