The Gokyo Ri hike climbs from Gokyo village to a 5,357-meter viewpoint above Nepal’s famous lakes. The distance is modest, but the altitude, sustained ascent, and cold make careful planning essential. This guide explains the route, realistic walking times, summit views, and how to choose between sunrise, sunset, or a daylight climb. You’ll also find practical packing advice and clear reasons to delay or turn back. Use it to plan the viewpoint excursion within your wider Gokyo journey, with enough flexibility for your health and changing mountain conditions.
Gokyo Ri Hike: Why a Short Climb Feels So Demanding
Gokyo Ri Hike: Plan the Climb, Not Just the Sunrise
The Gokyo Ri hike is a steep, high-altitude excursion from Gokyo village to a viewpoint at 5,357 meters in Nepal’s Everest region. Starting at approximately 4,790 meters, you gain about 570 meters before returning along the same trail. Allow roughly four to six hours for the climb, descent, breaks, and summit stop. In dry conditions, it is generally a trekking ascent rather than a technical climb, but altitude, cold, wind, and snow can make it demanding. Go only when well acclimatised and conditions allow; sunrise is an option, not a requirement.
A short climb that deserves a proper plan
From your lodge in Gokyo, the hillside looks nearby. You have already walked for days to reach the lakes, and the summit appears to be just one more morning’s effort. Then you start climbing, and the pace changes.
The question is rarely whether you can walk uphill. It is whether you can do it steadily above 5,000 meters, stay warm during stops, and descend safely afterwards.
This guide focuses on the hike from Gokyo village to Gokyo Ri and back. It explains the route, realistic timing, difficulty, summit views, and the choice between sunrise and sunset. Whether you arrive on a standalone Gokyo trek or a longer Everest journey, the aim is the same: make a good decision before leaving the lodge.
What is the Gokyo Ri hike?
Gokyo Ri is a viewpoint above Gokyo village in Nepal’s Khumbu region. The hike follows a steep hillside trail to the summit and returns the same way. Its main attractions are the mountain panorama, views across the lakes, and the Ngozumpa Glacier. It is separate from the multi-day trek needed to reach Gokyo.
Gokyo Ri hike at a glance
Detail | What to plan for |
Starting point | Gokyo village, approximately 4,790 m |
Gokyo Ri elevation | 5,357 m / approximately 17,575 ft |
Net elevation gain | Approximately 570 m / 1,870 ft |
Hike distance | Gokyo Ri Hike is roughly 4–6 km return; depends |
Ascent time | Approximately 2–3 hours; some trekkers need longer |
Descent time | Approximately 1–2 hours, depending on footing |
Total outing | Allow approximately 4–6 hours with breaks and summit time |
Route format | Out and back from Gokyo village |
Main challenges | Altitude, sustained climbing, cold, and changing footing |
Overnight location | Usually Gokyo village; onward plans depend on your itinerary |
Nepal Tourism Board lists the summit at 5,357 meters and identifies Gokyo Ri as a panoramic viewpoint above the Gokyo Valley and Gokyo lakes.
Gokyo Ri hike difficulty: how hard is the climb?
The Gokyo Ri hike is physically demanding because it combines a sustained ascent with very high altitude. In dry conditions, it can be a little easy to walk. Good acclimatisation, controlled pacing, and secure downhill footing matter more than finishing quickly. Snow or ice can change the difficulty substantially.
The climb is short in distance but challenging
Approximately 570 meters of height gain can sound manageable to experienced hikers. The difference is the starting altitude. You begin near 4,800 meters, before taking your first uphill step.
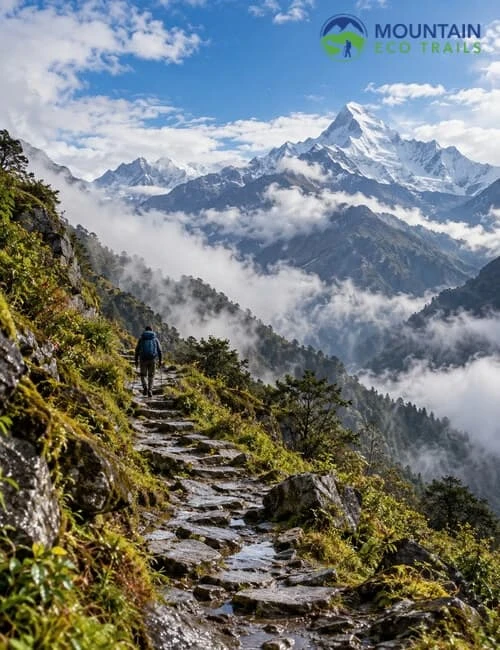
The Gokyo Ri trail offers limited relief from climbing. A pace that feels ordinary at home may leave you stopping frequently here. Small, regular steps usually work better than walking quickly between long recovery breaks.
Treat the timing estimate as permission to move slowly. Trying to match a faster trekker can turn a manageable climb into an exhausting morning.
Hiking experience helps, but fitness is not acclimatisation
Experience helps you manage clothing, balance, pacing, and a long descent. It does not guarantee protection from altitude illness. The physical fitness from altitude-illness risk and emphasises gradual ascent.
If you regularly hike steep trails, your legs may be ready, but your body may still need time at altitude. Judge readiness by your recent ascent and how you feel, not by your usual running pace or previous summit list.
The descent deserves its own energy
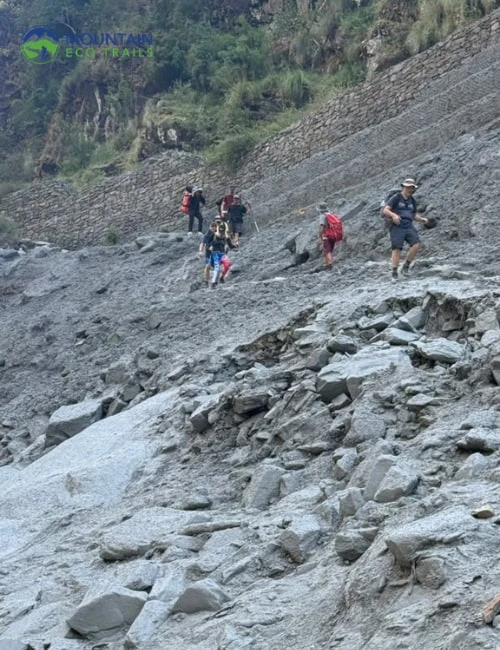
Reaching the top is only the midpoint. Loose stones, tired legs, and cold feet can make the downhill section awkward.
Keep enough energy to place your feet carefully. Trekking poles can help with balance, but they do not replace attention to the ground. If snow hides the trail or ice makes footing uncertain, reassess the outing rather than assuming the descent will be easier.
Gokyo to Gokyo Ri: route, trail, and distance
The Gokyo Ri route climbs the hillside above Gokyo Valley and returns along the same path. It is a local summit excursion, not a route through Cho La or Renjo La. Your exact starting point depends on your lodge, so check the trail access before an early departure.
Step 1: Identify the start in daylight
Ask your guide to point out the current trail approach. Seeing the start before darkness removes an unnecessary navigation problem the following morning.
Check what lies immediately outside the lodge: frozen ground, standing water, or fresh snow can affect your first steps. A downloaded map is useful, but local confirmation matters when visibility or surface conditions change.
Step 2: Set a sustainable pace early
Begin gently, even if the group feels excited. The lower climb is the place to establish a rhythm you can maintain higher up.
Choose short steps and brief pauses. Keep the group close enough to communicate, especially in darkness. If someone repeatedly falls behind, adjust the pace and assess how they feel rather than stretching the group across the hillside.
Step 3: Manage the upper climb and summit stop
As you gain height, the landscape opens and the temptation to stop for photographs increases. Put on an extra layer before a long pause, not after you become cold.
At the top, find secure footing and keep loose equipment under control. Decide how much summit time the weather allows. A comfortable ten-minute stop can be better than a prolonged wait in strong wind.
Step 4: Descend consciously
Return before fatigue or changing weather narrows your options. Space yourselves so one person does not dislodge stones directly onto another.
Avoid racing down to catch breakfast or an onward departure. The hike should fit the day’s plan; the day’s plan should not pressure you into careless footing.
How long does the Gokyo Ri hike take?
It takes around 2-3 hours to hike up to Gokyo Ri and 1-2 hours to descend from Viewpoint to Gokyo Valley. In total, it takes around 4-5 hours overall to hike to Gokyo Ri. Acclimatisation, snow, pace, and weather can extend it; this is not a guaranteed completion time.
Separate your plans into three parts:
- Walking time: climbing and descending.
- Stopping time: clothing changes, drinks, and recovery pauses.
- Summit time: photographs and enjoying the view.
That distinction matters when planning sunrise. You may exclude the several breaks while ascending to chase the sunrise. Before setting out, agree on a latest turnaround time. It should account for daylight, weather, the slowest member, and the return journey. Keep your breakfast or onward trek flexible enough that turning back remains a realistic option.
Gokyo Ri sunrise hike or sunset: which should you choose?
Sunrise usually means climbing in darkness and descending in daylight. Sunset usually reverses that pattern. Both can offer memorable light, but neither guarantees clear views. Choose according to current weather, trail conditions, your acclimatisation, and the time available for a safe return, not photographs alone.
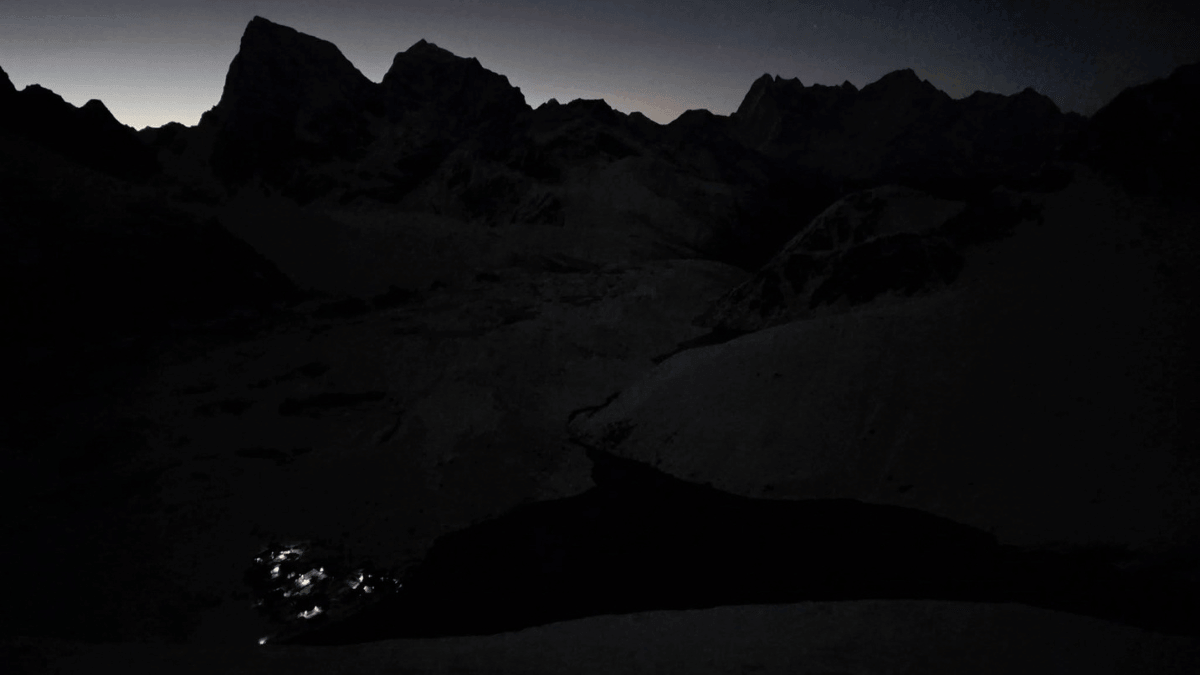
Compare the complete Sunrise and Sunset Hike
Factor | Sunrise hike | Sunset hike |
Darkness | Usually during the ascent | Usually during the descent |
Cold exposure | Cold start and possible wait for first light | Cooling conditions after sunset |
Photography | Changing dawn light and possible glare toward eastern peaks | Different light direction and evening colours |
Planning question | Can you climb steadily before dawn without rushing? | Can you descend confidently as light fades? |
Weather decision | Assess overnight conditions and the morning outlook | Assess afternoon cloud, wind, and evening outlook |
Equipment priority | Working headlamp from departure | Working headlamp even if departure is in daylight |
What can you see from the Gokyo Ri viewpoint?
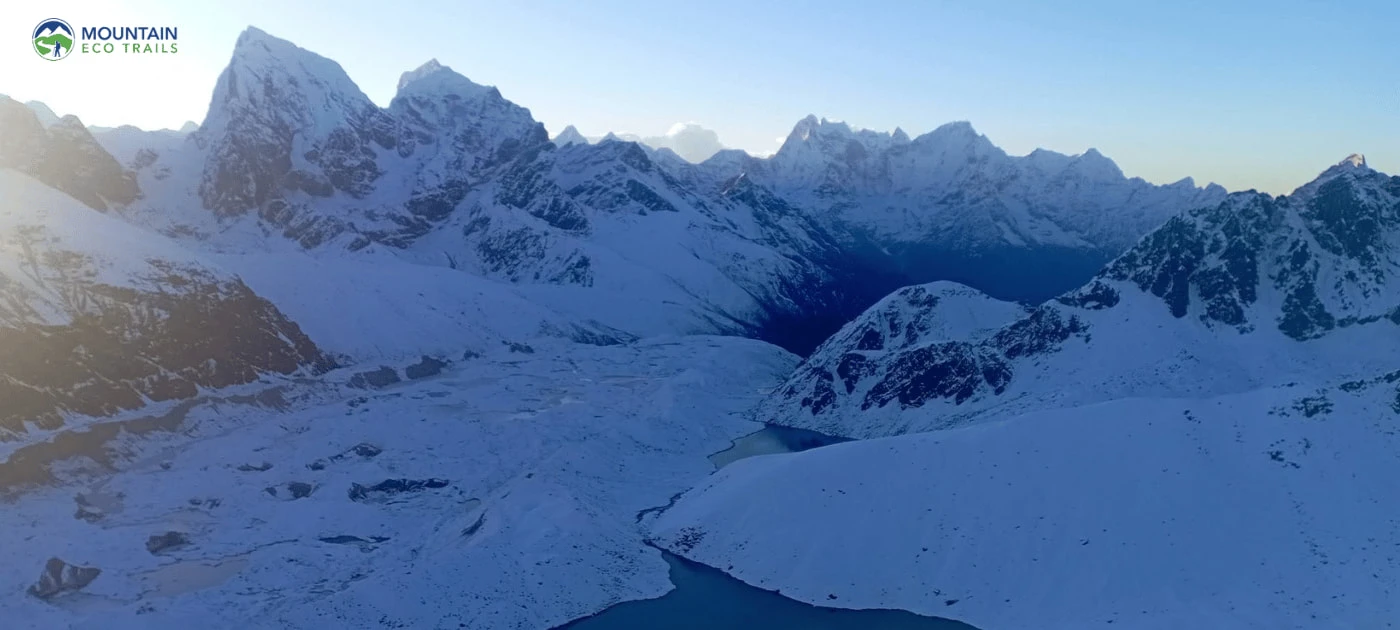
The Gokyo Ri summit view combines high Himalayan peaks with the lakes, village, and glacier below. You will witness Everest, Lhotse, Makalu, and Cho Oyu in the wider Gokyo panorama. Visibility depends on clouds and weather; arriving at the summit does not guarantee every mountain will be visible.
Look beyond Everest
Everest is the name most people come looking for, but the valley gives the viewpoint much of its character. The lakes provide colour and scale, while the glacier shows how the landscape connects toward the higher mountains.
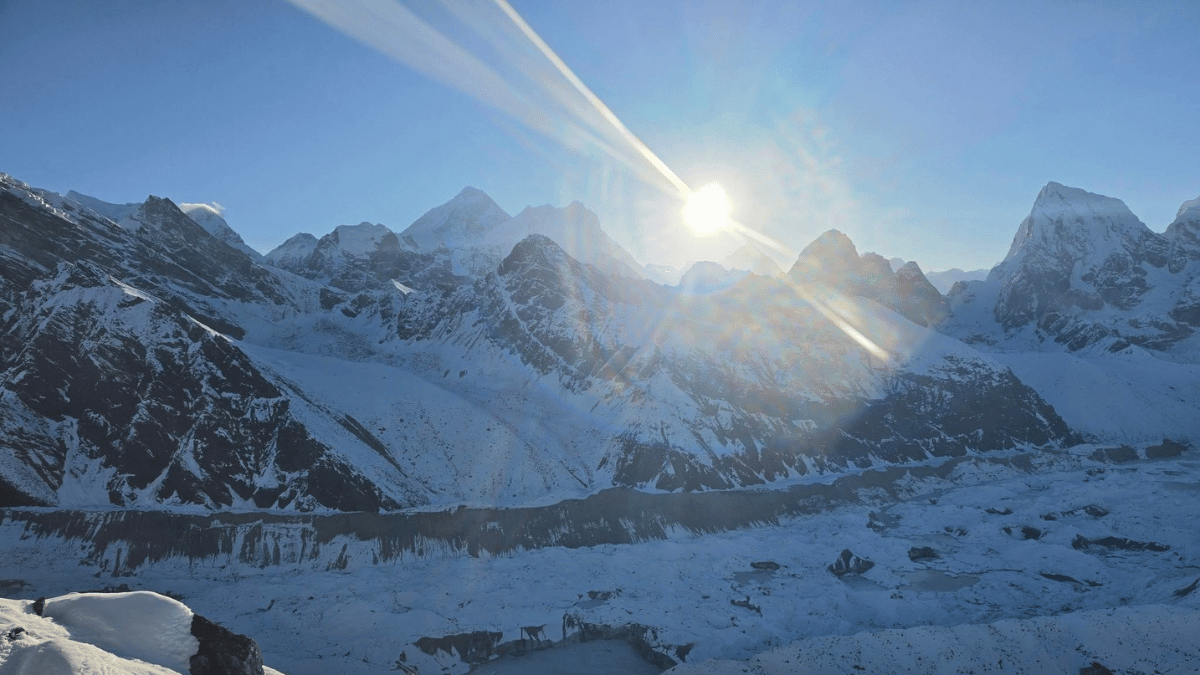
Ask your guide to identify the major peaks before taking a zoomed photograph. A broad panorama with correctly labelled mountains is more useful than a close-up of an unidentified snowy ridge.
Give the view time without becoming cold
Take your first photographs, then put the camera away briefly. Enjoy the changes in light across the water and surrounding slopes.
If clouds pass through, a short wait may help, provided conditions remain comfortable. Avoid extending your stop indefinitely because one peak is still hidden. Your descent matters more than completing a photographic checklist.
Acclimatisation and deciding whether to climb
Gokyo Ri is an optional trip. Reaching Gokyo Valley does not automatically mean you are ready to climb another 570 meters the next morning.
Review how quickly you reached the village and how you feel. Your Namche acclimatisation day contributes to the approach, but it is not permanent protection against problems higher up.
Discuss symptoms openly with your guide. Do not start higher with obvious altitude-illness symptoms, and descend if symptoms worsen.
Know when the plan must change
Stop the hike and seek assessment for symptoms such as headache with nausea, dizziness, or unusual fatigue. Confusion, difficulty walking steadily, or breathlessness at rest require urgent medical help and assisted descent or evacuation as conditions allow.
Weather can also end the attempt. Turnaround reasons include:
- Footing that becomes unsafe for the equipment and experience available.
- Strong wind that compromises balance or warmth.
- Visibility too poor to follow the route confidently.
- Progress too slow to leave a reasonable return margin.
A clear sky does not override a health problem. Another night in the village may suit some situations; worsening illness can require descent instead.
Click here to know details about the Hidden Beauty of Gokyo Valley
What to carry for the Gokyo Ri hike
Pack for the coldest stop and the return journey, not just the temperature inside your lodge. Keep your daypack light enough to carry comfortably, while retaining the essentials.
- A reliable headlamp and spare batteries or backup power.
- Warm layers, including an insulated jacket.
- A windproof outer layer and appropriate rain or snow protection.
- Gloves, a warm hat, and a neck covering.
- Broken-in hiking footwear with suitable grip.
- Water in a container protected against freezing.
- Easy-to-eat snacks.
- Sunglasses and sunscreen for daylight.
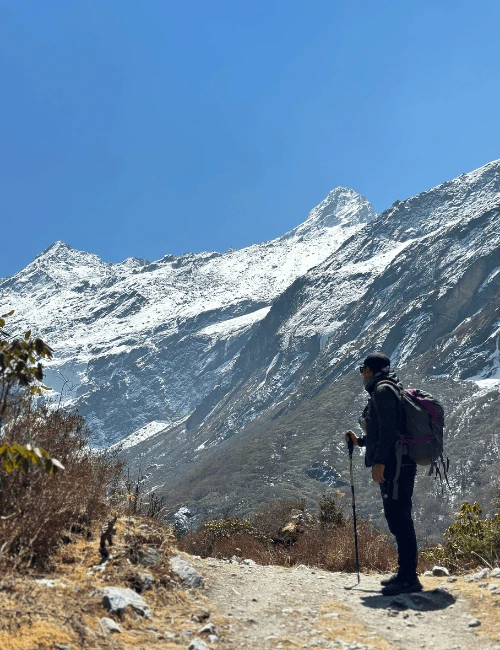
- Trekking poles if you use them comfortably.
- A phone or camera, with batteries kept warm.
Ask about traction equipment if snow or ice is present. Small traction devices are not a reason to proceed onto terrain beyond your ability.
Use a backpack rather than carrying a camera or water bottle in your hands. Keep frequently used items accessible so every drink does not require unpacking in the wind.
Fit the hike into your wider Gokyo journey
The summit outing and the multi-day trek serve different purposes. The journey takes you to Gokyo; the hike adds an optional high viewpoint trip.
For the complete route and trip arrangements, see our Gokyo Valley Trek. If your journey continues toward Everest Base Camp, explore the Everest and Gokyo trek via Cho La. Neither option should make a successful Gokyo Ri climb a must-do excursion.
Avoid treating the summit, a long descent, and several extra lake excursions as interchangeable additions to one day. Each requires time and energy. Discuss which experience matters most, then leave space to adjust.
Frequently asked questions about the Gokyo Ri hike
Is Gokyo Ri a technical climb?
In dry conditions, Gokyo Ri is generally a steep trekking ascent rather than a technical mountaineering climb. You still need dependable footing and enough energy for the return. Snow or ice can change the situation, so confirm current conditions and suitable equipment before leaving the village.
How long does it take to hike from Gokyo to Gokyo Ri?
Plan roughly two to three hours for the ascent and one to two hours for the descent. Allow approximately four to six hours overall, including pauses and summit time. Your actual schedule depends on acclimatisation, pace, weather, and whether snow or ice slows the trail.
What is the Gokyo Ri elevation?
Gokyo Ri lies at 5,357 meters, approximately 17,575 feet. Gokyo Valley is commonly listed around 4,790 meters, giving approximately 570 meters of net ascent. Small differences between maps do not change the main planning point: this is a very high-altitude hike.
Is sunrise better than sunset on Gokyo Ri?
Neither is automatically better. Sunrise usually puts the uphill walk in darkness; sunset can put the downhill walk in darkness. Consider current weather, light direction, temperature, and your confidence on the trail. A daylight climb may be a better choice when footing or group readiness is uncertain.
Can you see Mount Everest from Gokyo Ri?
Yes, you can see Mount Everest from Gokyo Ri. Everest is visible from Gokyo Ri when weather allows, alongside other major Himalayan peaks. Clouds may hide individual mountains or the entire panorama. Ask your guide to identify Everest accurately, and allow time for the wider view of the lakes and glacier rather than one photograph.
Can you visit Gokyo without climbing Gokyo Ri?
Yes. You can enjoy Gokyo village and the lakes without reaching the viewpoint. If you feel unwell, prioritize assessment and the appropriate altitude-illness response rather than another walk. If health is not the issue, discuss suitable nearby activities according to weather, available time, and your energy.
Should I hike Gokyo Ri on the day I arrive?
Do not make a same-day climb automatic. It depends on your ascent history, condition, remaining daylight, and weather. Many itineraries place the hike on a later morning, but an overnight stay alone does not prove readiness. Discuss the decision with your guide and keep the plan flexible.
Plan with Mountain Eco Trails
Tell us your travel dates, previous altitude experience, comfortable hiking duration, and whether you want to continue toward Everest Base Camp.
Mountain Eco Trails can discuss the Gokyo Excursion and how the viewpoint hike fits your plans. Ask about time in Gokyo, flexibility if conditions change, and what the quoted arrangements include.
Enquire about the Gokyo Valley Trek, email us, or contact us on WhatsApp at +977 9849790153.

Anil Lamsal
Call us on WhatsApp+977 9849790153OrChat with us